FOOD WASTE
A recipe for “Scraps Stock” follows the story below.
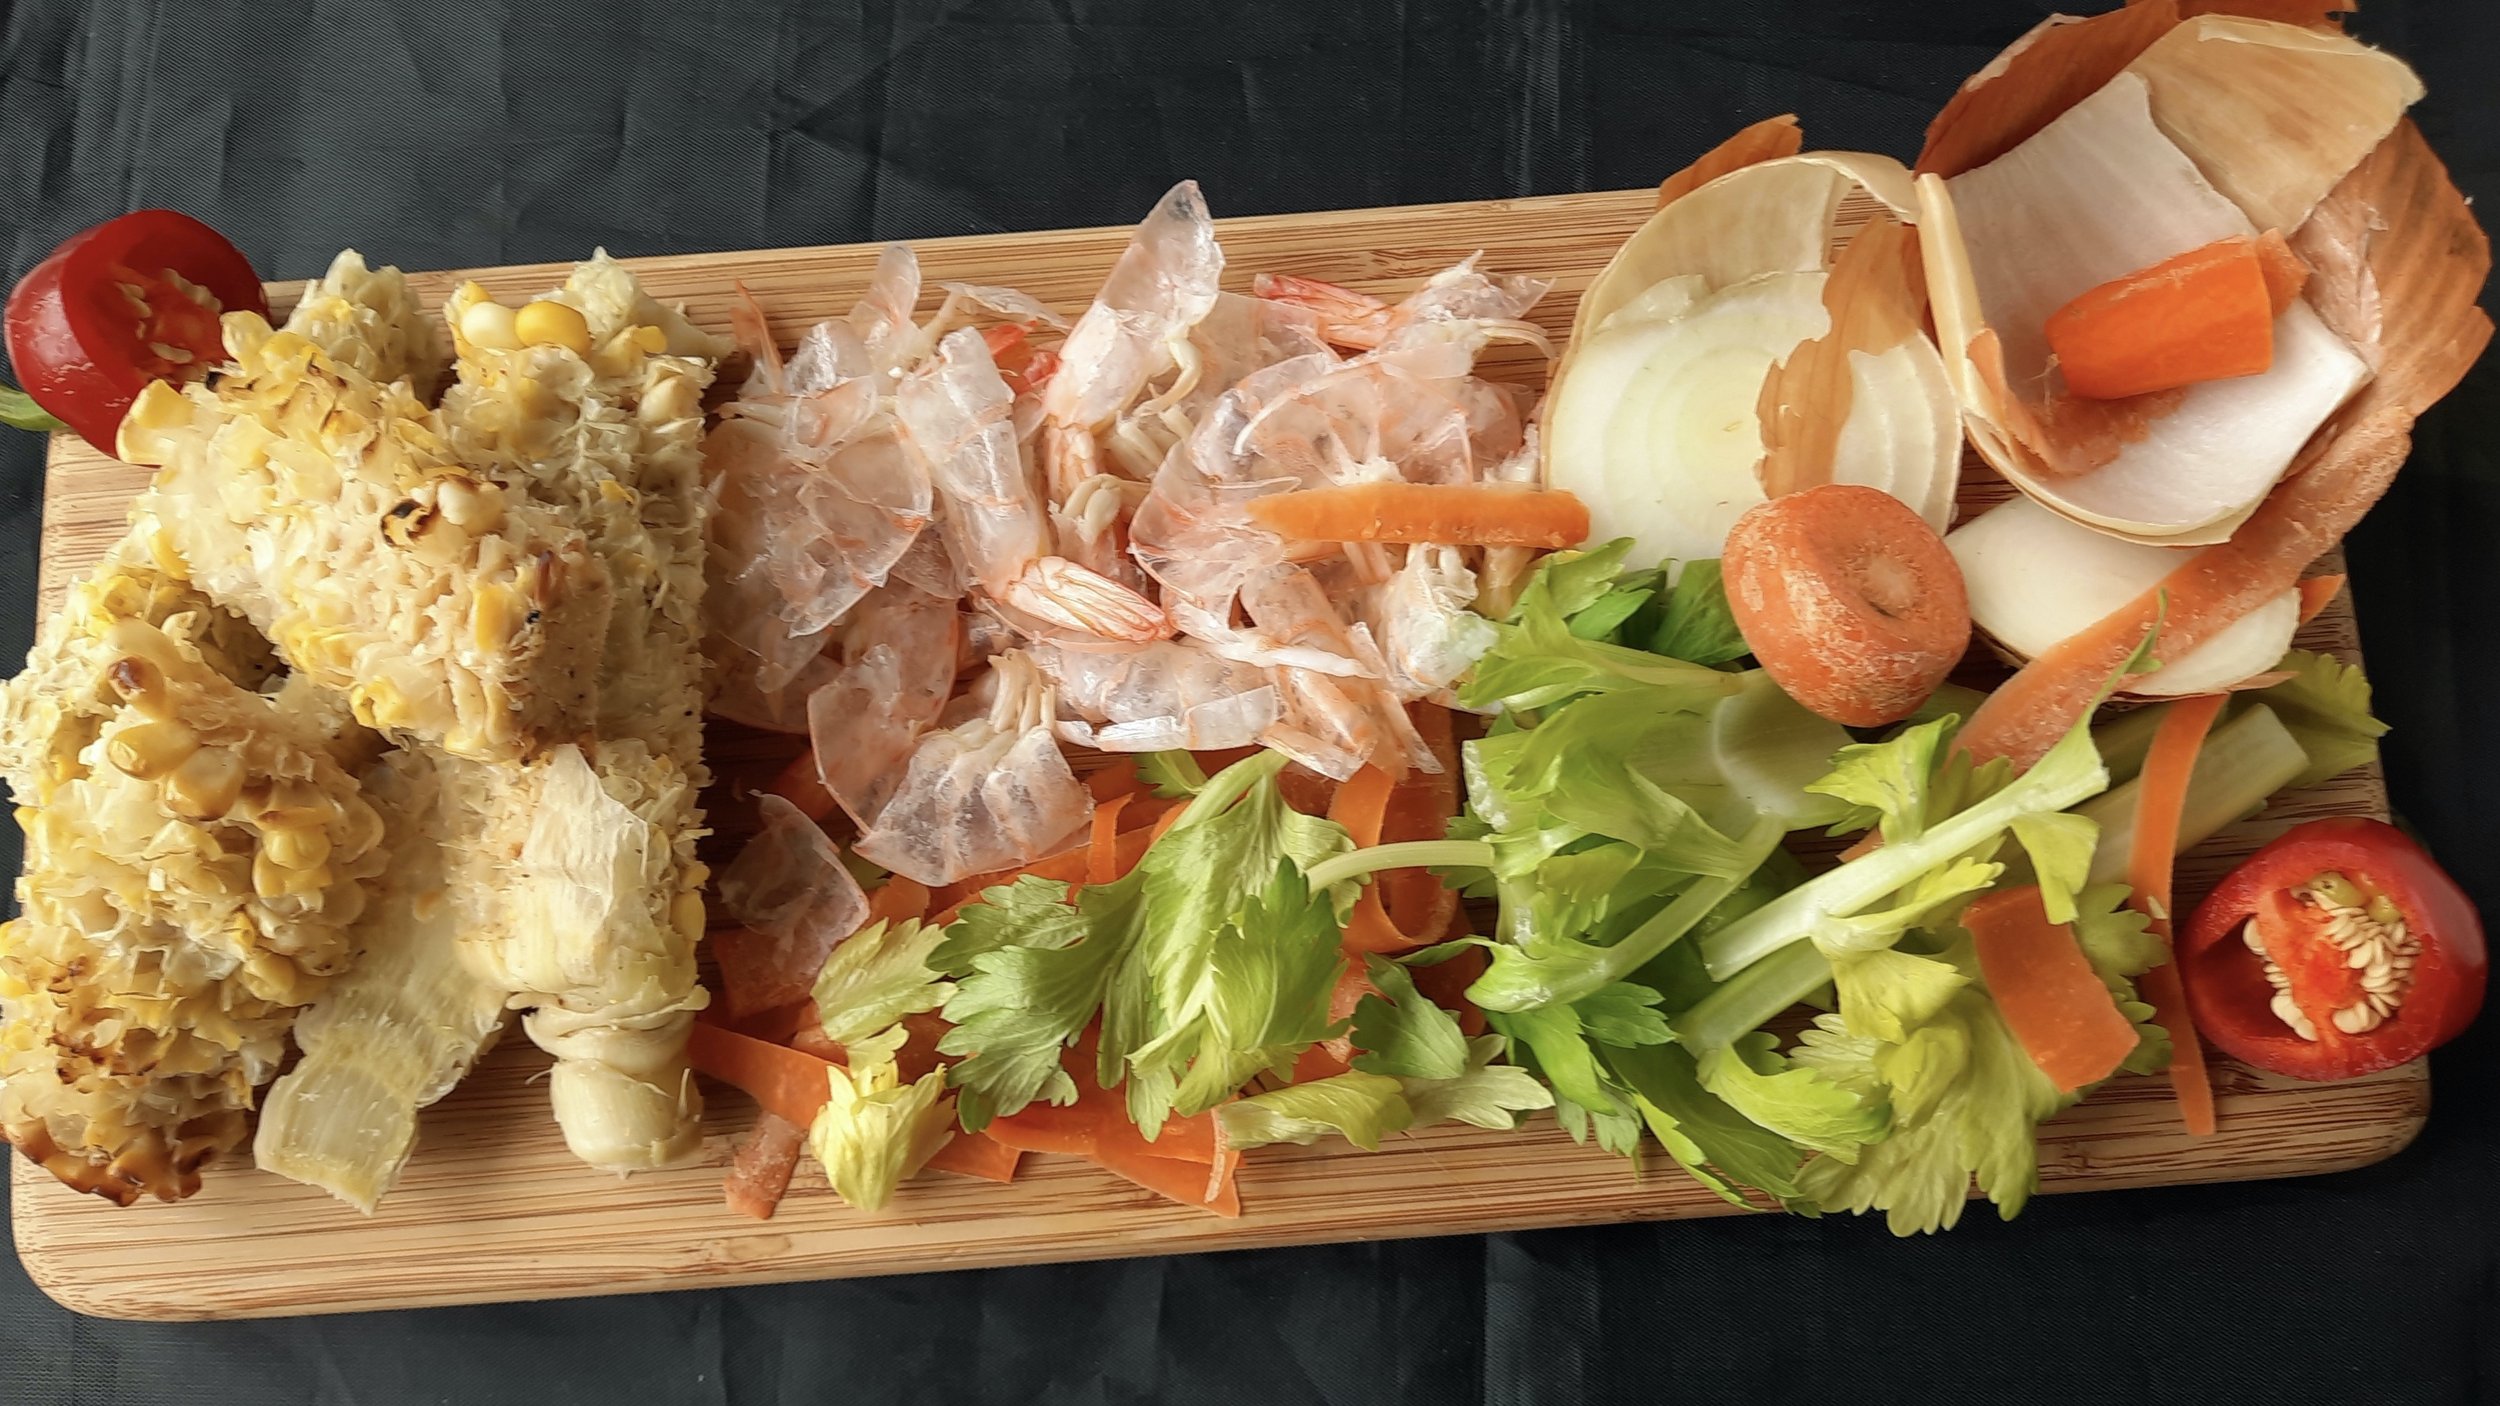
May look like it, but this is not “food waste.”
Hey, take a gander at your kitchen wastebasket and see all the money in there.
Statistics come in from several directions to show how much food we regularly waste (closer-to-the-truth verbs would be “toss” or “throw out”).
In 2019, the last year for which it offers these sorts of numbers, the U.S. Environmental Protection Agency (EPA) found that Americans threw out around 66 million tons of food. The largest percentage of our everyday trash—close to fully one-quarter of it—is food that is landfilled or combusted. It’s the EPA that’s on this because that food waste either decomposed and then released methane or, when burnt, carbon dioxide, greenhouse gases both.
Another environmental stat: It took 20 million acres of land and 4.2 trillion gallons of water merely to produce just the food that was tossed.
The U.S. Bureau of Labor Statistics tells us that, for 2020-21, the average U.S. household spent $5,259 on food for the home, but that that same household wasted, tossed or left to spoil between 30-40 percent of that food—an appalling figure.
Eaters, shoppers, home cooks, and chefs marshal many reasons to excuse these statistics: that so-called expiration dates on foods are a measure of safety (when more often they are marketing or aesthetic measures, or simply arbitrary); that food is spoiled or disfigured and therefore unsafe (when it may be merely unsightly); or that leftovers are boring. Close to three-quarters of all U.S. households dispose of leftovers—of their own cooking or from the restaurants they’ve visited—at least once a month.
If these numbers get under your skin the way that they do mine, here are some suggestions (and even a recipe) for your own food management. If you consider them, you may help lessen the impact that food waste has on your budget, your planet, and perhaps your sensibilities.
Over the past three or four years, I’ve tried many commonsense food management recommendations. Some, I find, I too easily violate such as “Don’t grocery shop when hungry.” Others become unrealistic or are too much bother, such as “Keep a food diary,” so I fail them.
Still others are simple and easy and have become habit. Bananas that over-ripen get frozen into chunks that turn into my favorite freezer candy. I try to grocery shop with a menu in mind; it doesn’t matter if it is for today’s dinner only, or for a dinner party a couple days away, or for a few meals ahead. If coupons or sales and deals goad me into buying food that I know I customarily don’t cook and eat, I try to stave off the retail therapy.
But a few habits have really paid off and dramatically lowered my own food waste. They’re simple and merely required tossing out old behaviors in favor of building new ones.
Love your freezer. It should be the home to a myriad of scraps (vegetable peelings; bones; end-of-season herb clippings, and the like) and leftovers in airtight containers. Many, many leftovers in airtight containers, each labeled with its contents and date of entry into the freezer. I don’t even use the term “leftovers” anymore; to me, they are second helpings, another dinner, food saved to eat later. Leftover “leftovers” plus eggs are “omelets.”
Learn the truth about various so-called expiry dates. For example, the “sell by” date on a carton of eggs is just that, and a directive to the grocer, not you; it’s not an “eat by” date. If refrigerated, eggs are safe to eat 4-5 weeks after their sell-by date. Germany and France are revising the entire idea of “sell by” dating, opting, for instance, for “freeze by” dates instead.
To learn the difference among “sell by,” “use by,” and “best by” dating, go to the page on the U.S. Department of Agriculture’s website for “Food Product Dating” and teach yourself how to save some coin.
Never run out of paper towels. Wrapping vegetable bin vegetables, greens, fresh herbs, and many fruits in paper toweling - after washing them, spinning them (mostly) dry, and just before bagging them - proves, again and again, to be an amazing preservative of freshness.
Perhaps it is how they wick moisture, preventing, say, mushrooms, lettuce and herb leaves from sliming over. Perhaps it is the extra layer of cold insulation that they effect. Perhaps it is because they resemble baby blankets. Paper towels. Who knew?
Make ghee. This piece of advice is a bit esoteric, but it sure works. My butter never spoils or turns rancid, even if I keep it outside the refrigerator for may days, because I clarify my butter by turning it into ghee. It’s simple, takes about a half an hour each go-around, and, for my money, makes my (unsalted) butter even more delicious than it already is.
RECIPE: Scraps Stock
Makes 2 quarts or more; salt to taste may be added at any point, or altogether omitted.
Ingredients
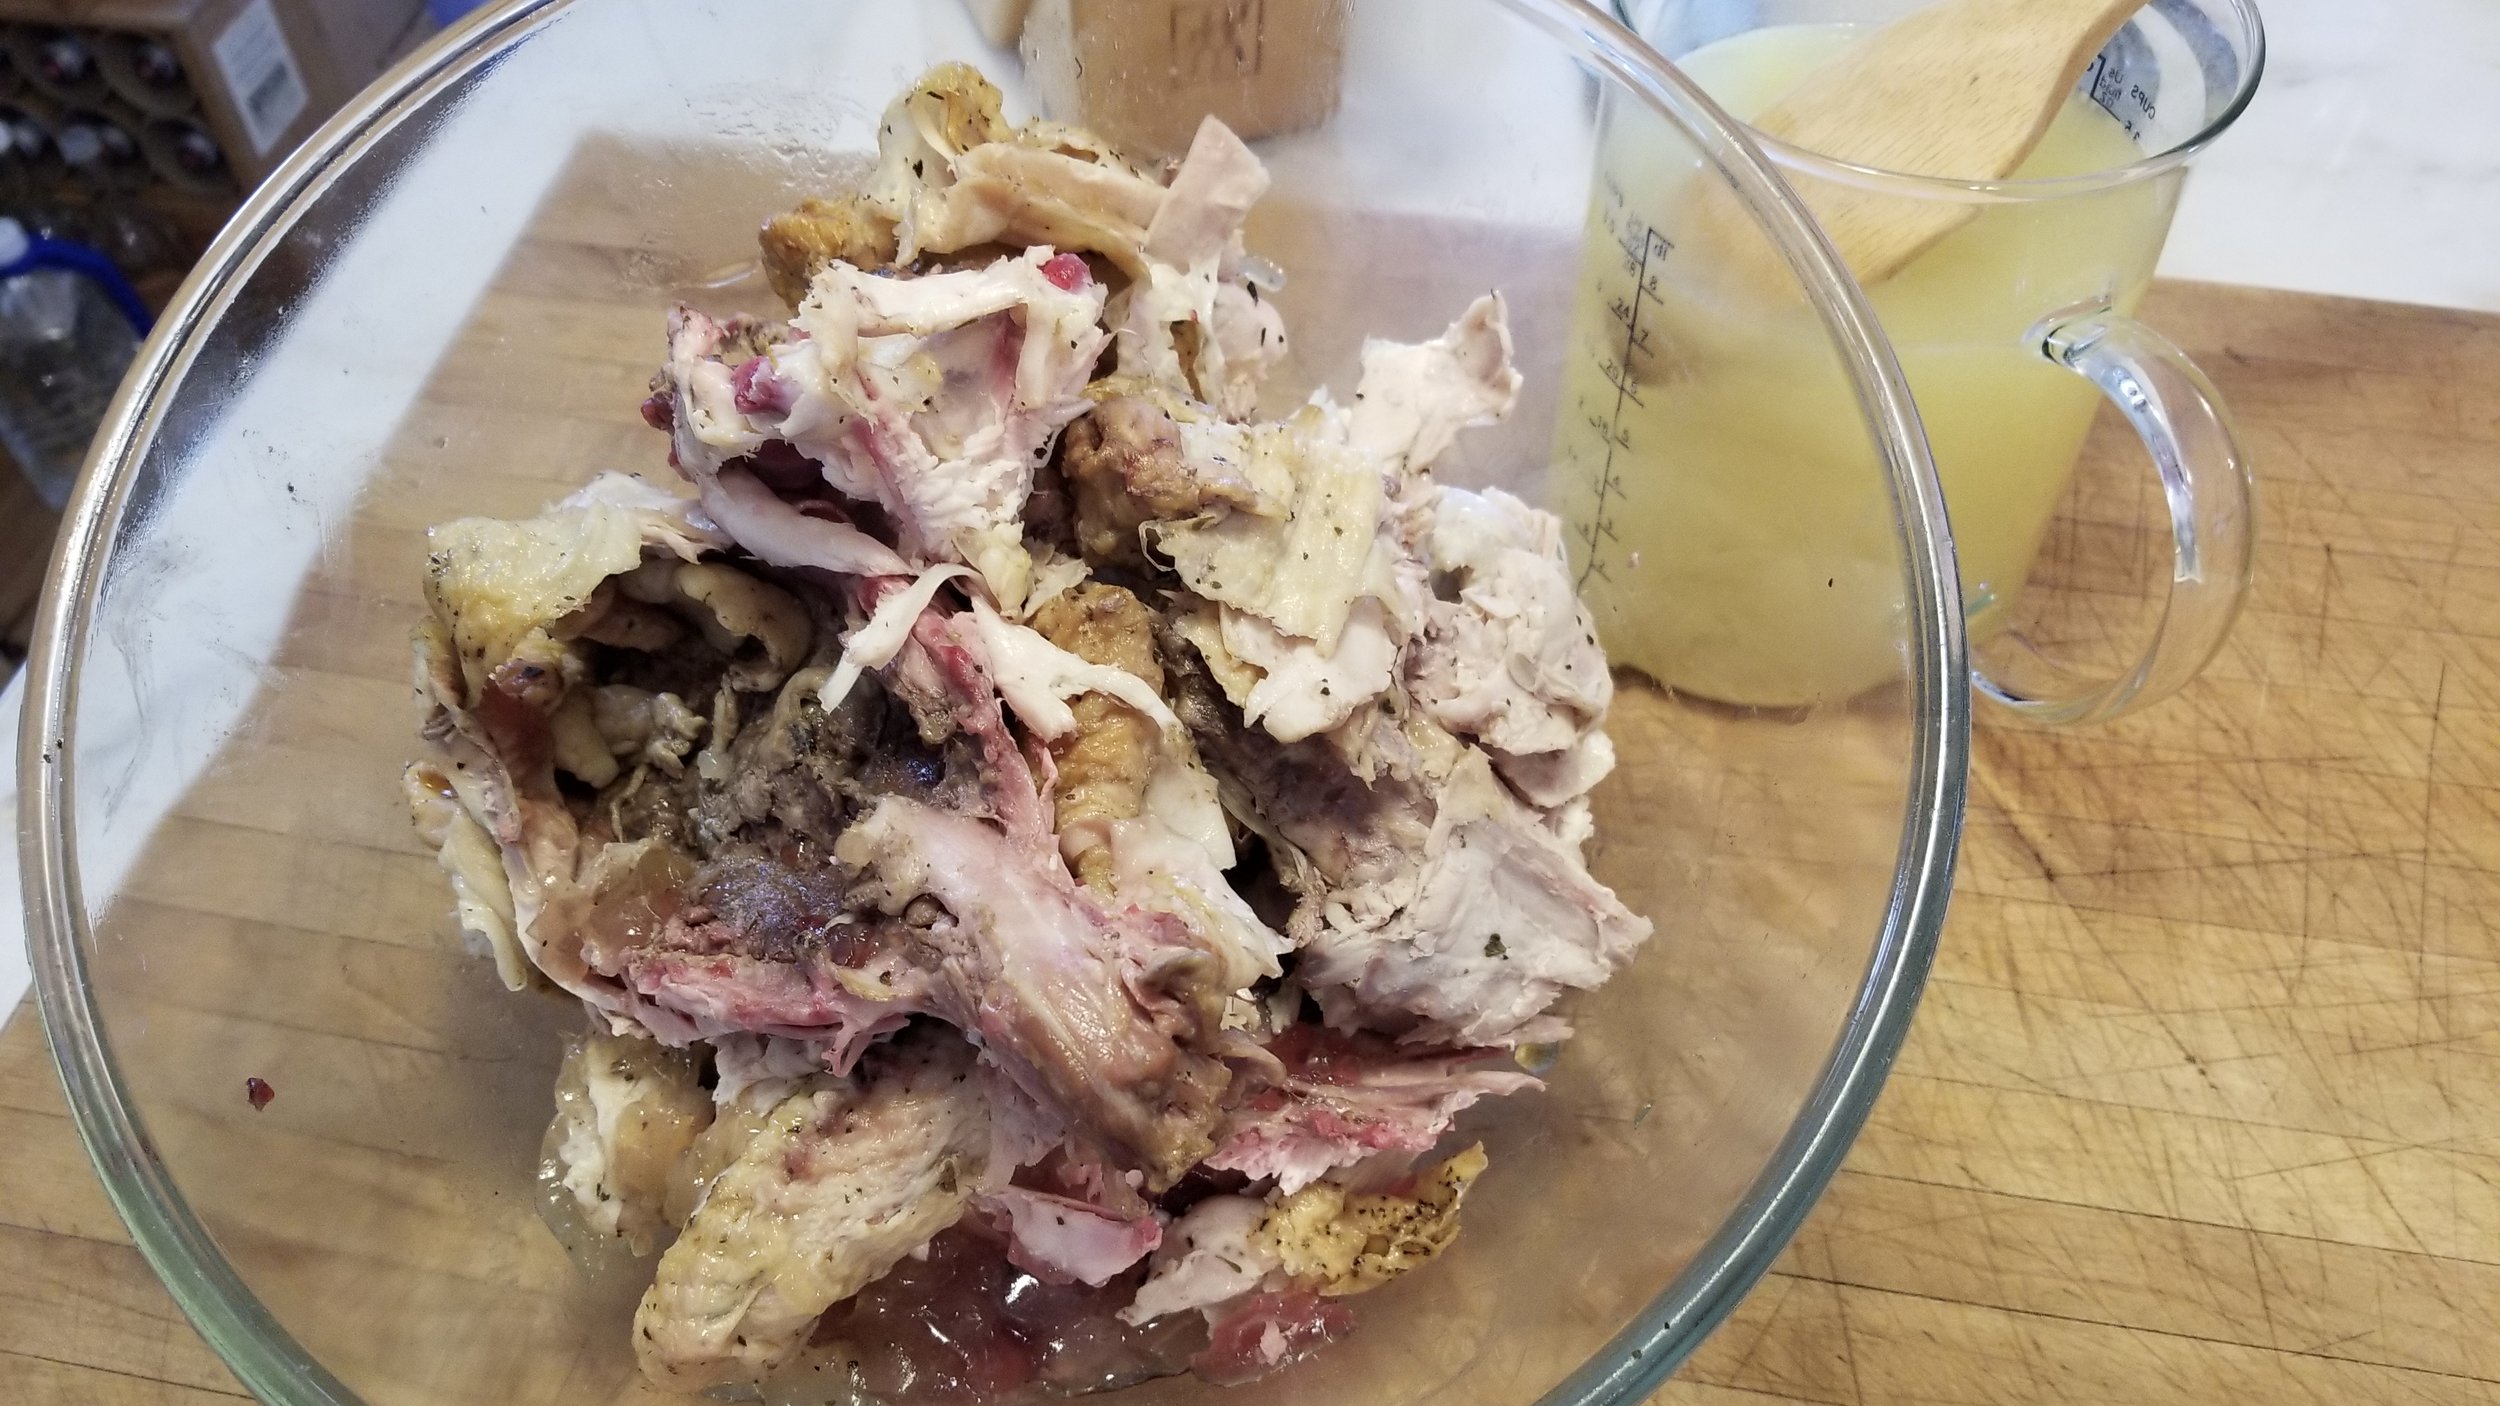
All bones, carcasses, scraps of meat and cartilage, from the equivalent of 2-3 whole chickens, either previously cooked or raw, or both
4 cups vegetable trimmings, packed, balanced among carrot trimmings; root ends and leaves or tough outer stalks of celery; skin, root ends and unused parts of yellow or white onions; skin, squeezed-from flesh, and stem ends of tomatoes
A few potato skins, outer cabbage or leek leaves, fennel fronds, parsley stems, or yellow bell pepper trimmings, if you have any or all
6-8 cloves garlic, peeled and lightly crushed
Healthy pinch of dried thyme or 4 sprigs fresh thyme
1 large or 2 small bay leaves
10 whole peppercorns
Directions
Break up the chicken bones, if necessary, so that they will fit, with the other ingredients, into a very large pot, at least 8 quart-sized or larger.
Over medium-high heat, sear until browned in places any large pieces of vegetable (for example, flat-sided pieces of onion, or celery stalks, or leek parts) in the bottom of the pot. Doing so, and using onion skins, adds color to the stock.
Add the entirety of the ingredients to the pot and enough cold water to cover by 2 inches. Slowly bring to a boil, skimming off any noticeably grey-brown scum that may arise. (Light-colored foam or fat are no worry.)
Lower the flame so that the stock just barely simmers for at least 4 hours (and up to 8 or overnight). Do not cover the pot. You should see a few bubbles here and there, a little movement in the liquid, and bit of steam over the pot. Add more water (preferably already boiling) if the bones start to become exposed.
(At this point, and when the weather is cool, I chill the stock pot overnight - outside, with bricks holding the cover safely in place, or in my car - so that the fat rises and congeals, making for simple removal the next day.)
Strain the stock to separate out the solid pieces. Discard the solids. (If you'd like a clearer broth, strain it again through cheesecloth.) Separate into portion-sized containers. Refrigerate stock for up to a week or freeze it indefinitely.
You now have a very useful food, the basis for any number of “wet-warm” dishes, one-pot stews or braises, super sauces or gravies, and as history’s best-known ameliorative to the common cold.